Painting Without Stress: A Beginner’s Guide
Painting is the heart of Warhammer. It’s the moment when grey plastic turns into a hero, a monster, or an entire army.
But don’t worry – you don’t have to be an artist to do it. All you need are a few tips, the right tools, and most importantly, the desire to create.
This guide will walk you through everything you need to know to start with confidence and joy.
1. What do you actually need to start?
- Miniatures: Combat Patrol or Start Collecting sets.
- Primer: Base coat – essential, no way around it.
- Paints: Contrast, Speedpaint, or classic acrylic paints.
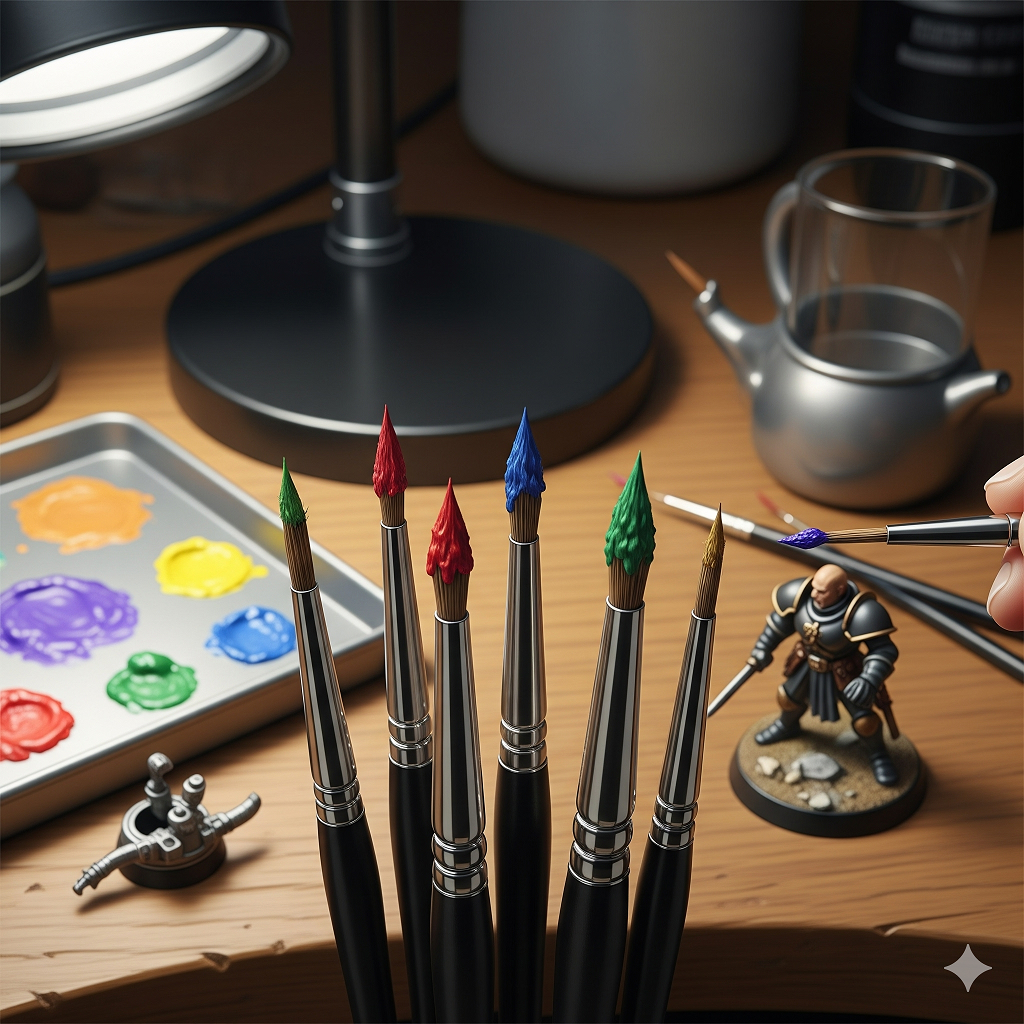
- Brushes: One for basecoating, one for details.
- Palette, water, lighting: Basic working equipment.
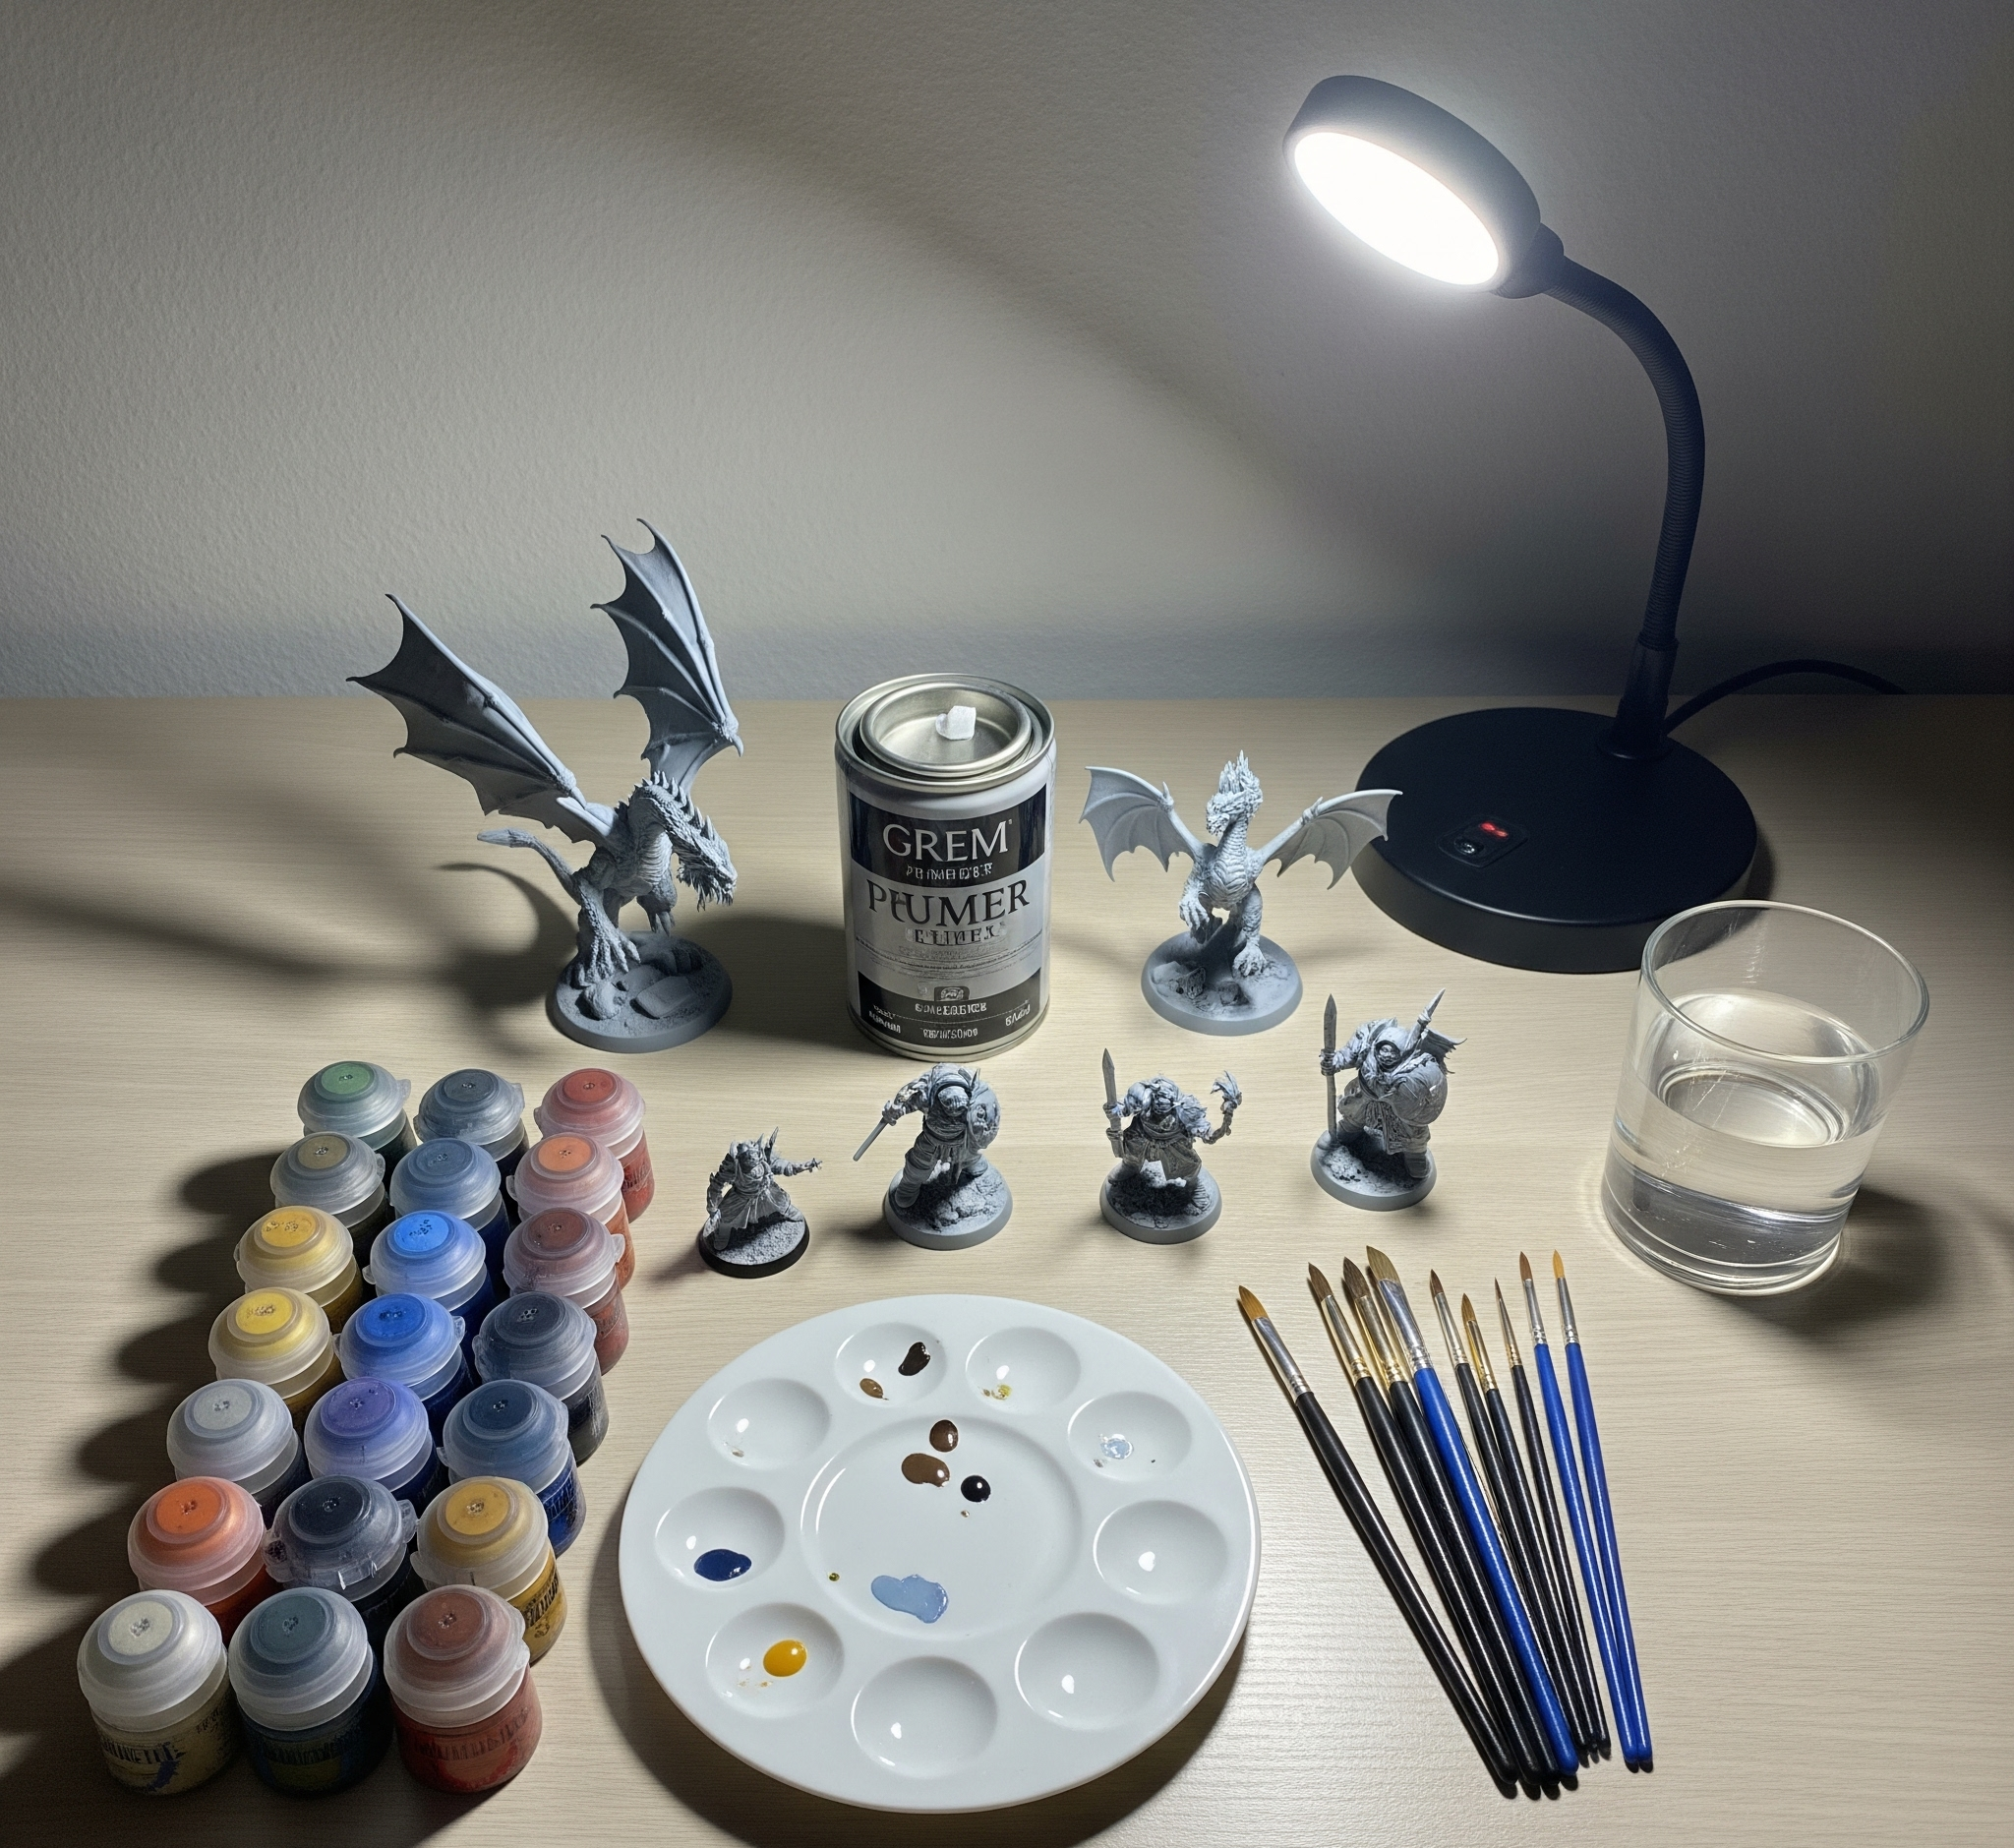
2. Primer: The foundation you can’t skip
Primer acts like glue between the plastic and the paint. Without it, the paint won’t stick properly and the result will be patchy.
- Wraithbone / Grey Seer: Ideal for Contrast paints.
- Black primer: Great for dark armies – Chaos, Necrons, Orks.
- White primer: Best for bright colors like yellow or blue.
Tip: Spray primer is fast, but brush-on primer gives you more control.
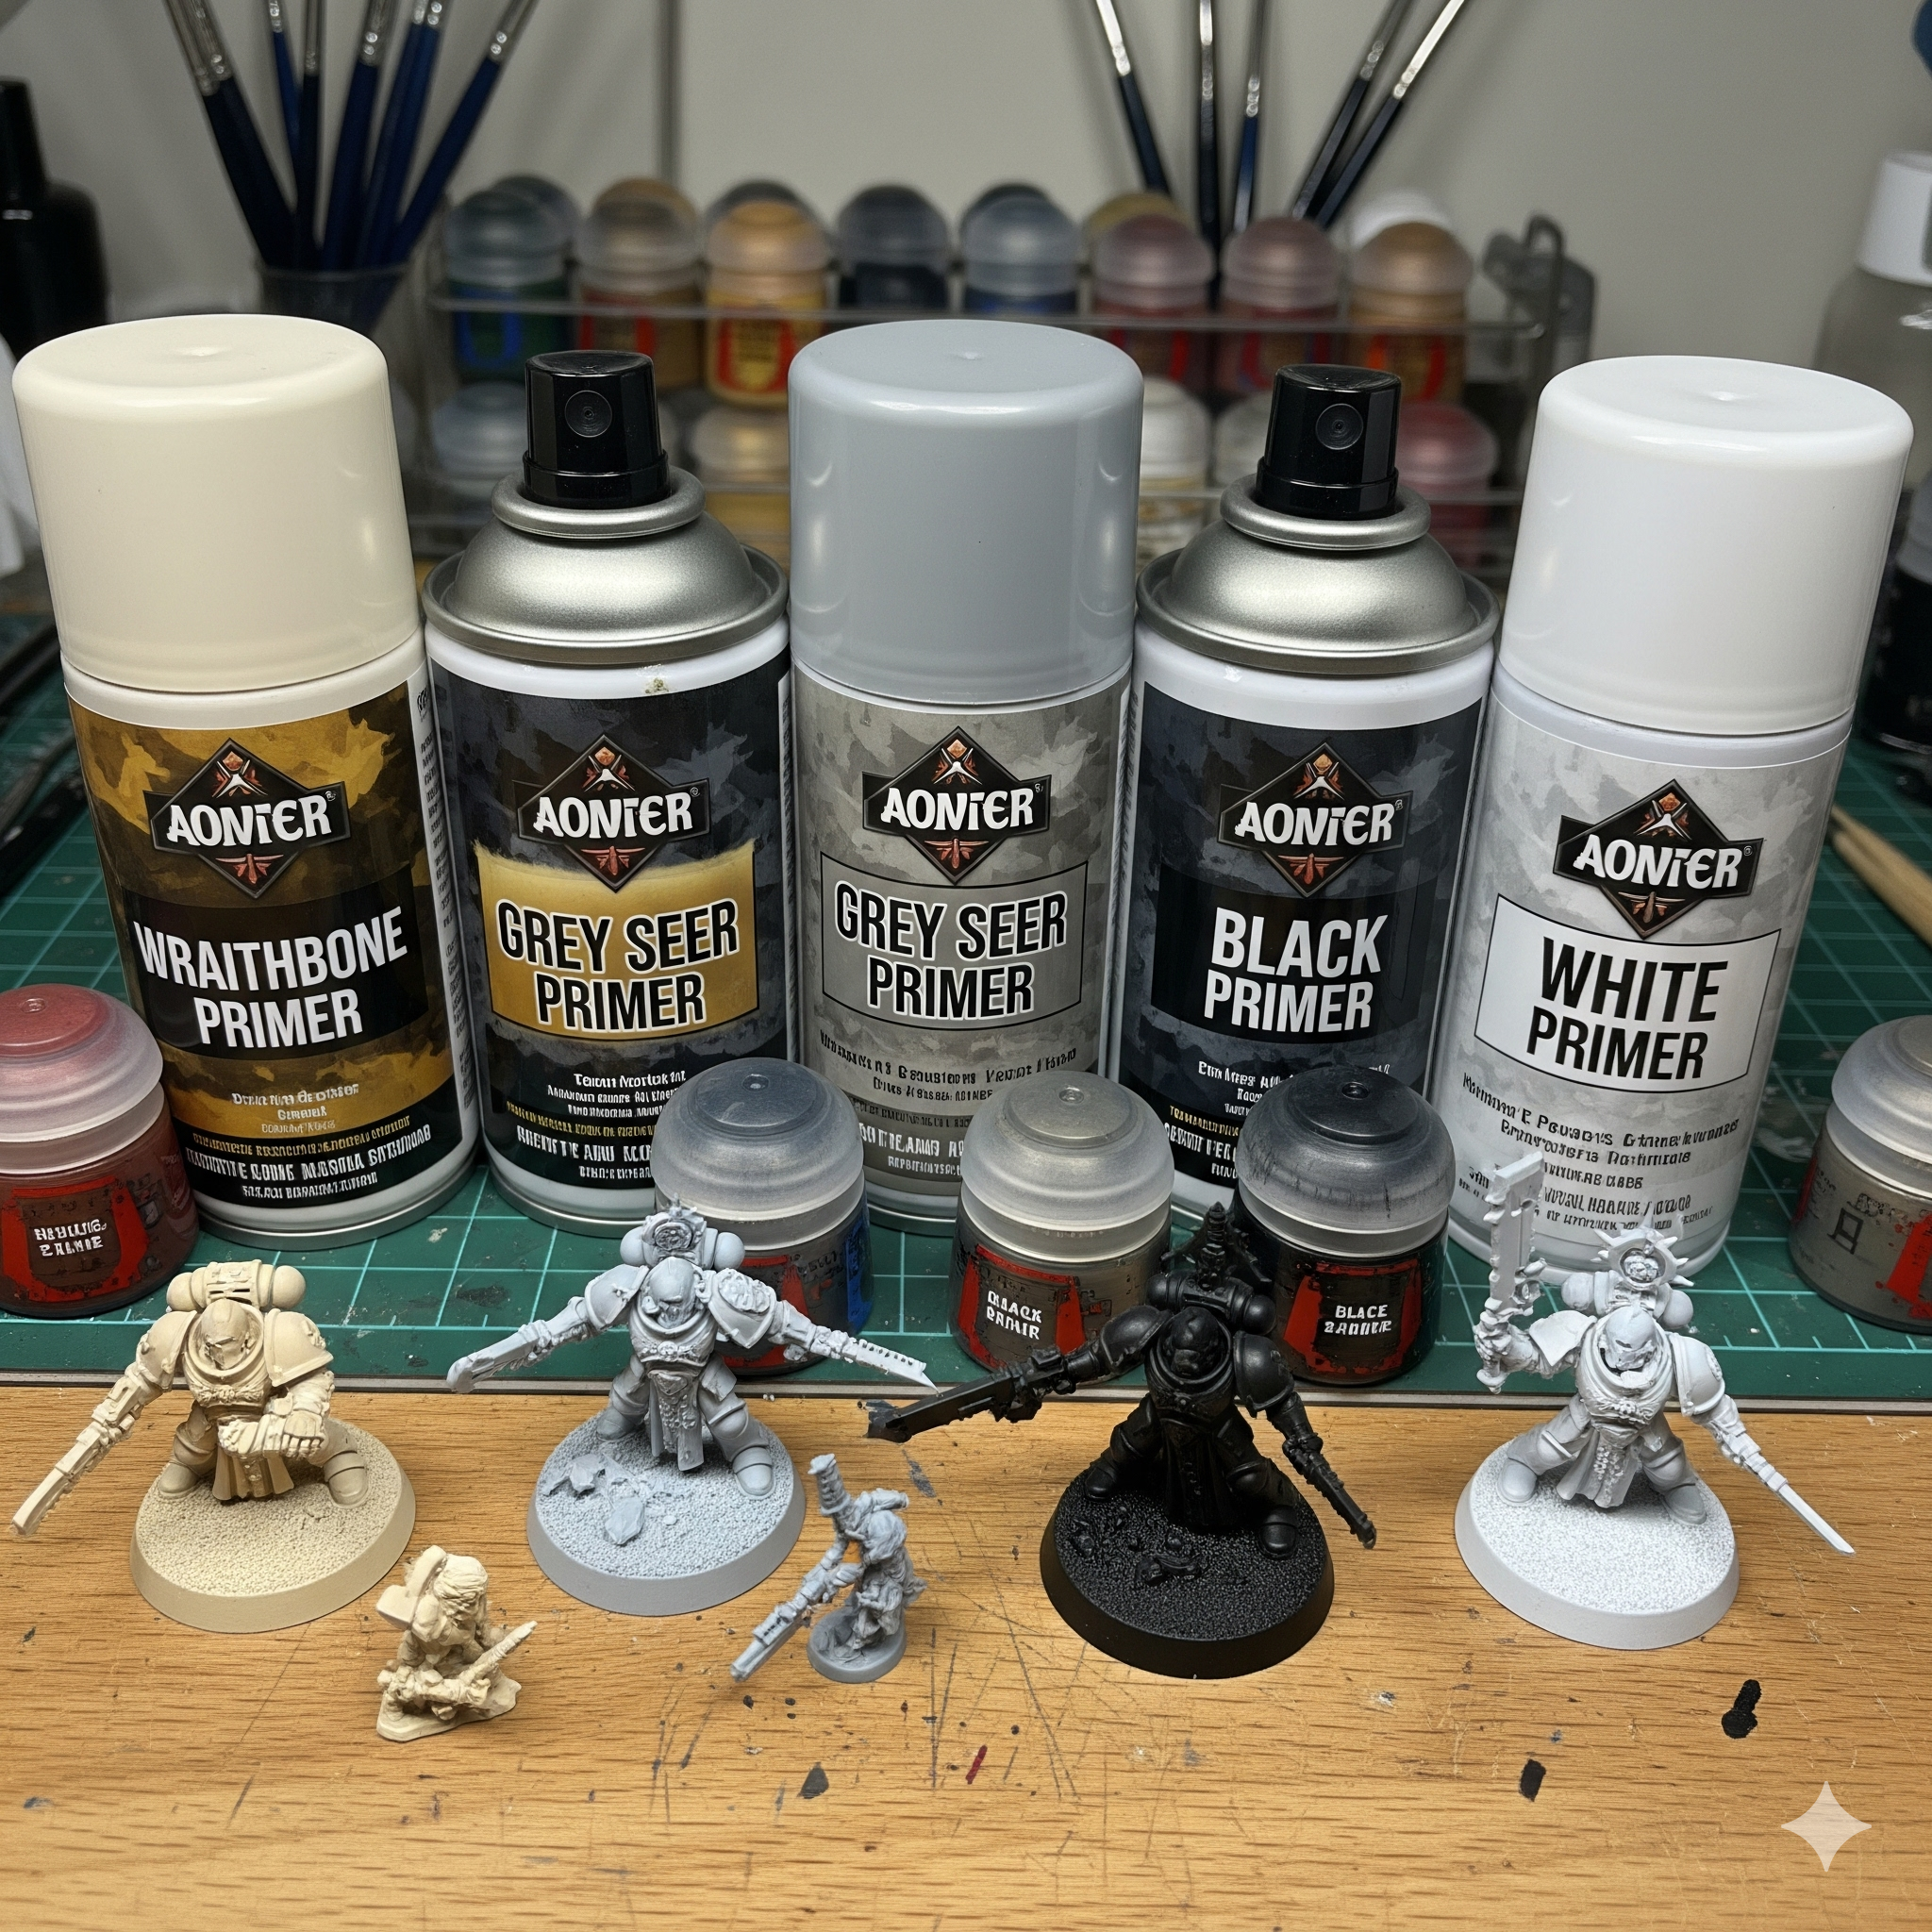
3. Paints: Which ones to choose and why?
There are three main types of paints suitable for beginners:
- Contrast Paints (Citadel): Simple, fast, effective. The paint creates shadows and highlights on its own.
- Speedpaint (Army Painter): A cheaper alternative that works similarly to Contrast.
- Classic acrylic paints: Base, Layer, Shade – more work, but more control.
Tip: Start with 5–6 universal colors: black, white, metallic, red, blue, brown.
4. Brushes: You don’t need ten of them
Two brushes are enough to start:
- Base brush: For large areas.
- Detail brush: For eyes, weapons, ornaments.
Tip: Clean your brushes thoroughly after each use. They’ll last much longer.
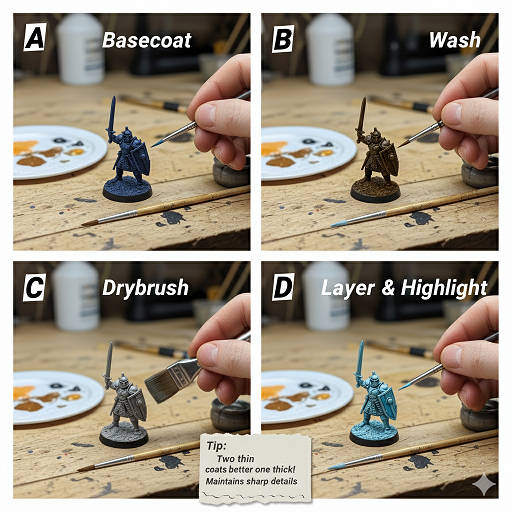
5. Techniques you can master right away
- Basecoat: The main color – apply it evenly.
- Wash: A thin dark paint that creates shadows.
- Drybrush: A dry brush with a little paint – highlights textures.
- Layer: A lighter color on raised areas – adds depth.
Tip: Two thin coats are better than one thick one. Details stay sharp.
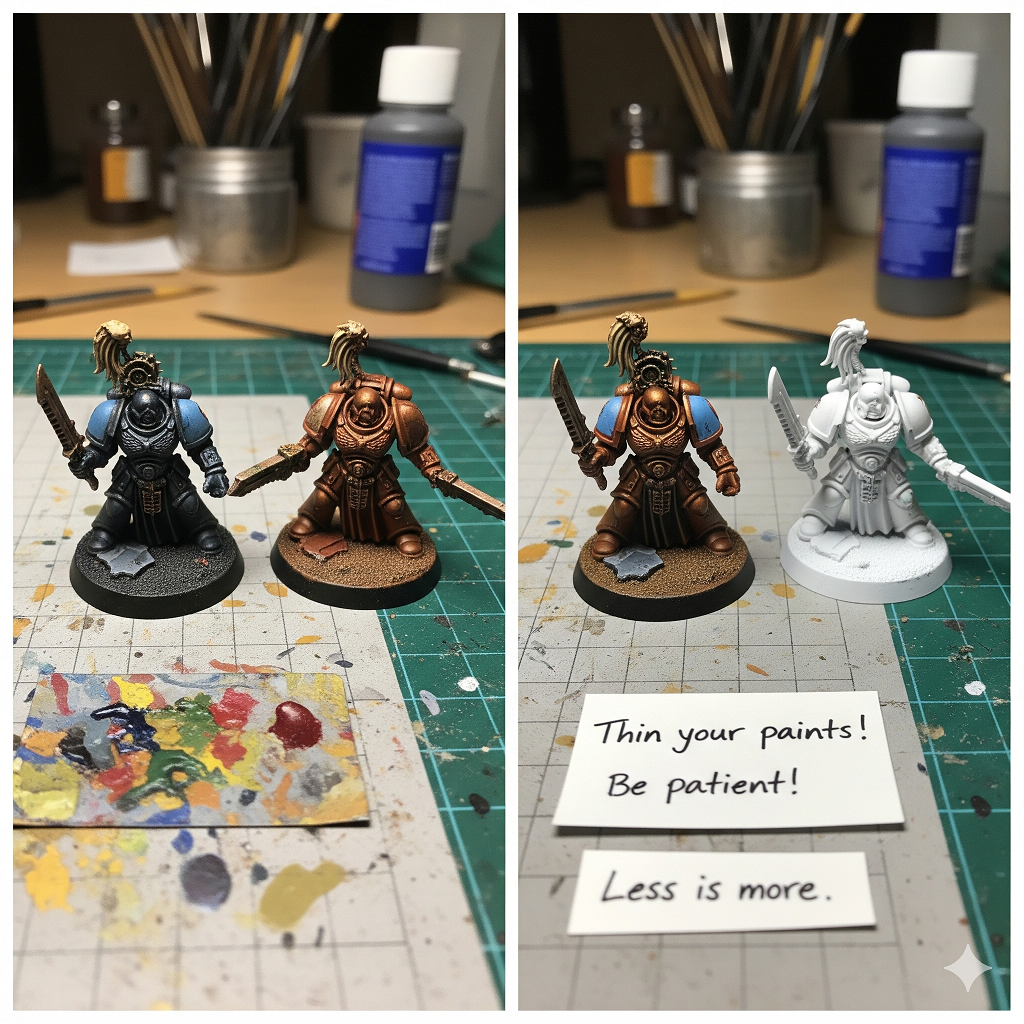
6. Common mistakes and how to avoid them
- Paint too thick: Thin it with water or medium. Thick paint hides details.
- Rushing: Let each layer dry. Otherwise, colors will mix and smudge.
- Fear of mistakes: Everyone makes them – even pros. You can always repaint or fix it.
- Overloading with details: Sometimes less is more. Too many effects can make the model look messy.
Tip: If something goes wrong, don’t panic – the miniature isn’t ruined. It can always be fixed or repainted.
7. Motivation: Your army doesn’t have to be perfect
It’s not about your miniatures looking like display pieces. It’s about enjoying the process. Every model you paint is a step forward. And most importantly – your army will be yours. Unique, personal, proud.
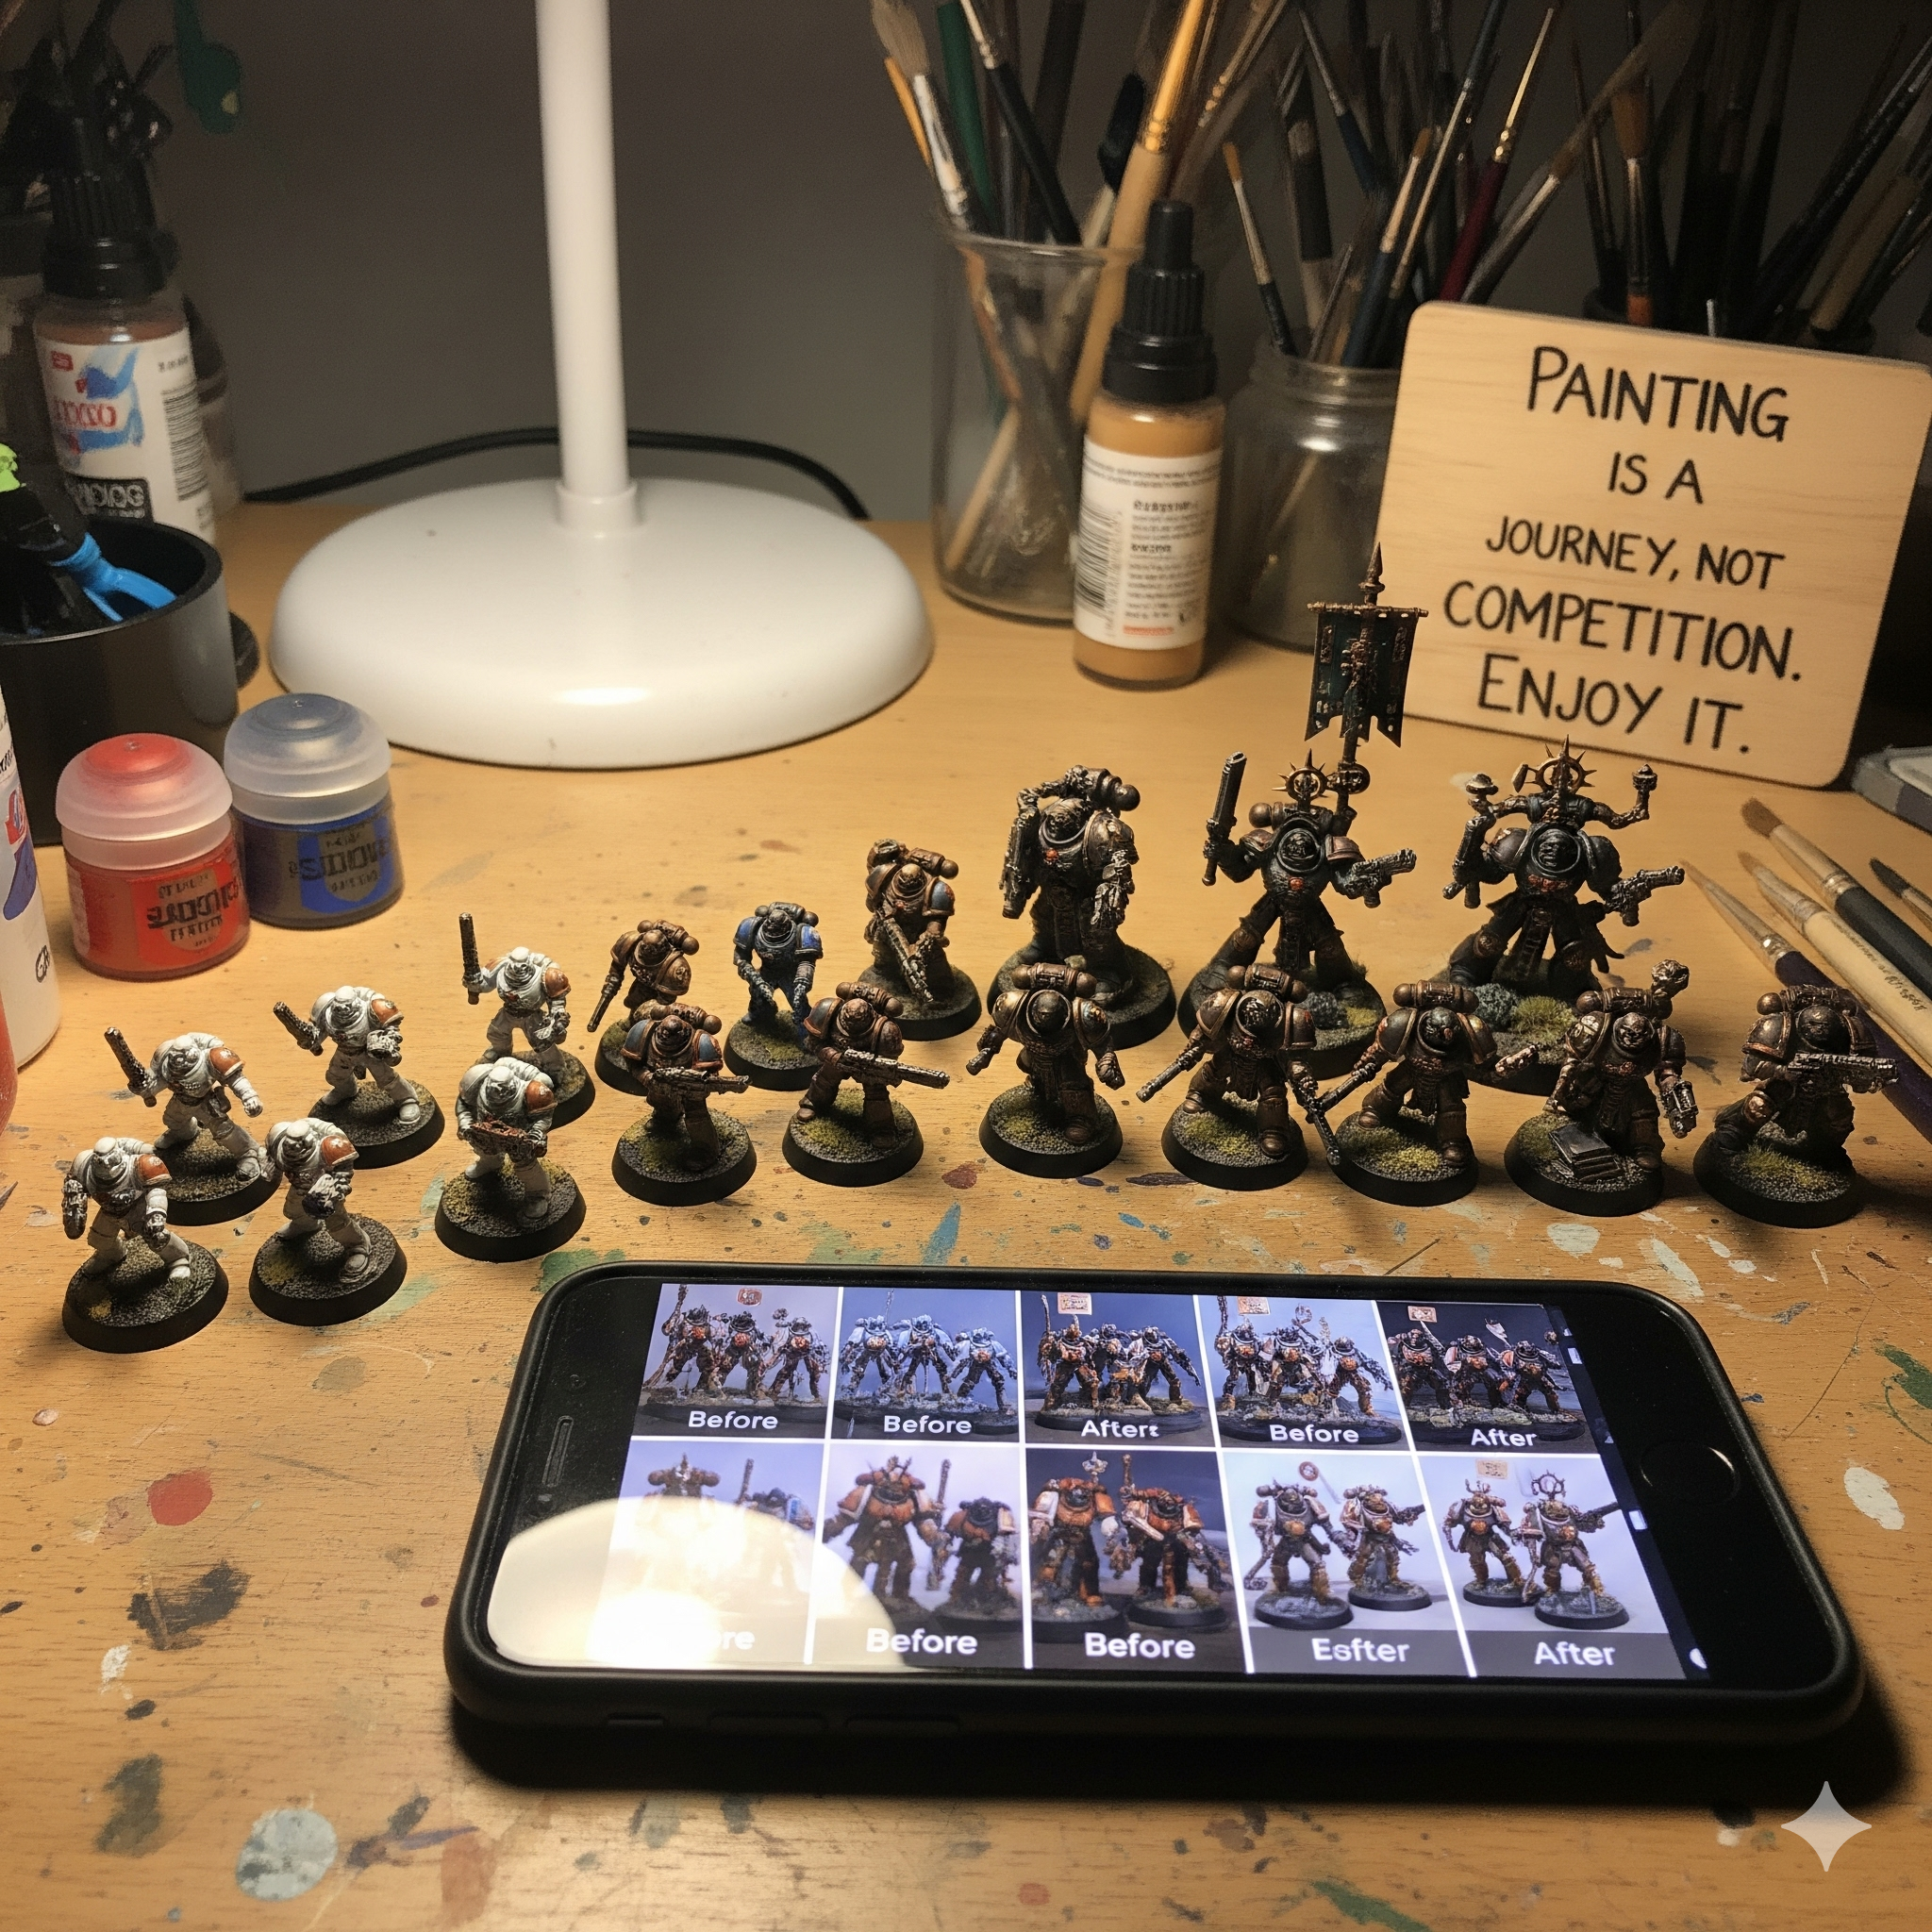
Tip: Take progress photos. When you look back at your first miniature, you’ll see how much you’ve improved.
🧠 Remember: Painting is a journey, not a competition. Enjoy it!
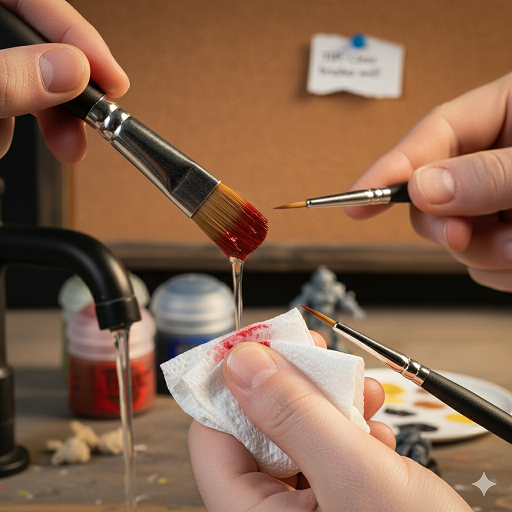
8. Brush care = brushes that last for years
- Rinse your brush thoroughly after each use.
- Never leave brushes standing in water – it bends the tip.
- Use brush cleaner or mild soap from time to time.
Tip: If the brush starts to fray, gently reshape it with your fingers and let it dry flat.
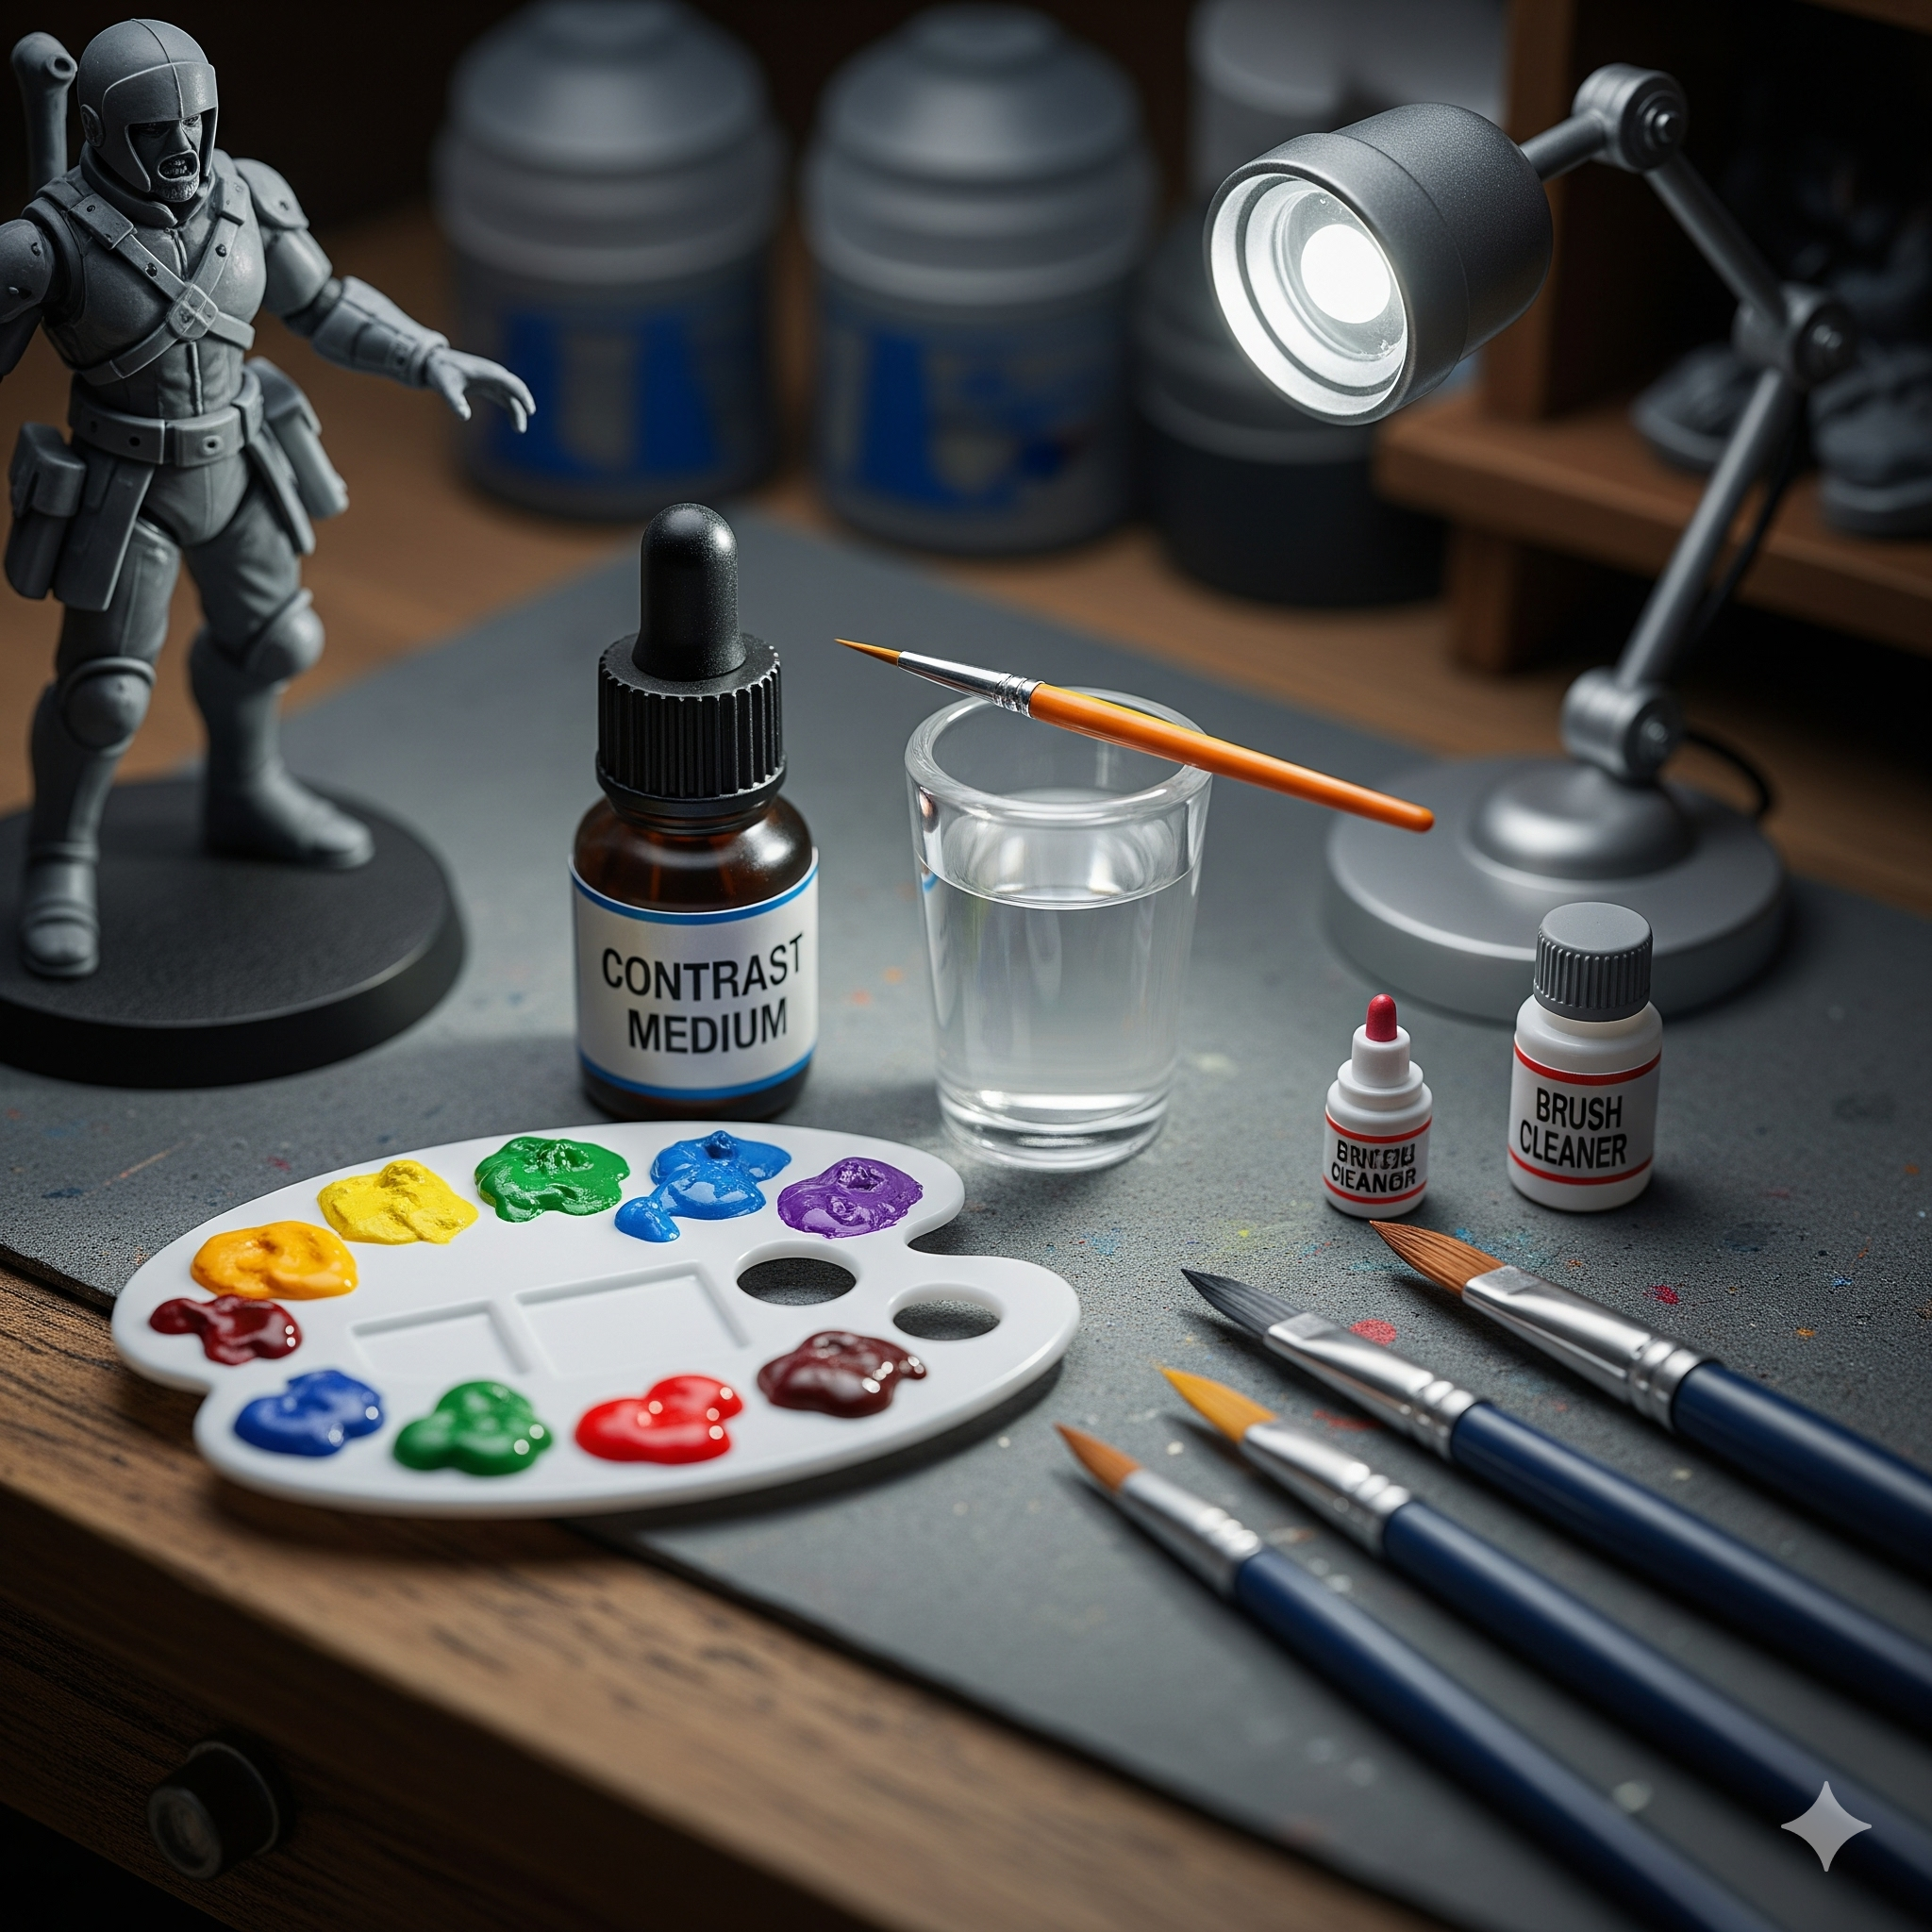
9. Contrast Medium and thinning paints
- Contrast Medium softens colors and creates smooth transitions.
- Thinning acrylic paints with water helps preserve details.
- You can create your own wash using regular paint + water + a drop of medium.
Tip: Thinned paints dry faster – work in smaller sections.

10. A test miniature = peace of mind
Always keep one miniature aside as a “test model.” Try new colors, techniques, or effects on it. You’ll save yourself the stress of ruining your main army.
Tip: Old or cheap second-hand miniatures are perfect for practice. And if it turns out great, you can still add it to your army!
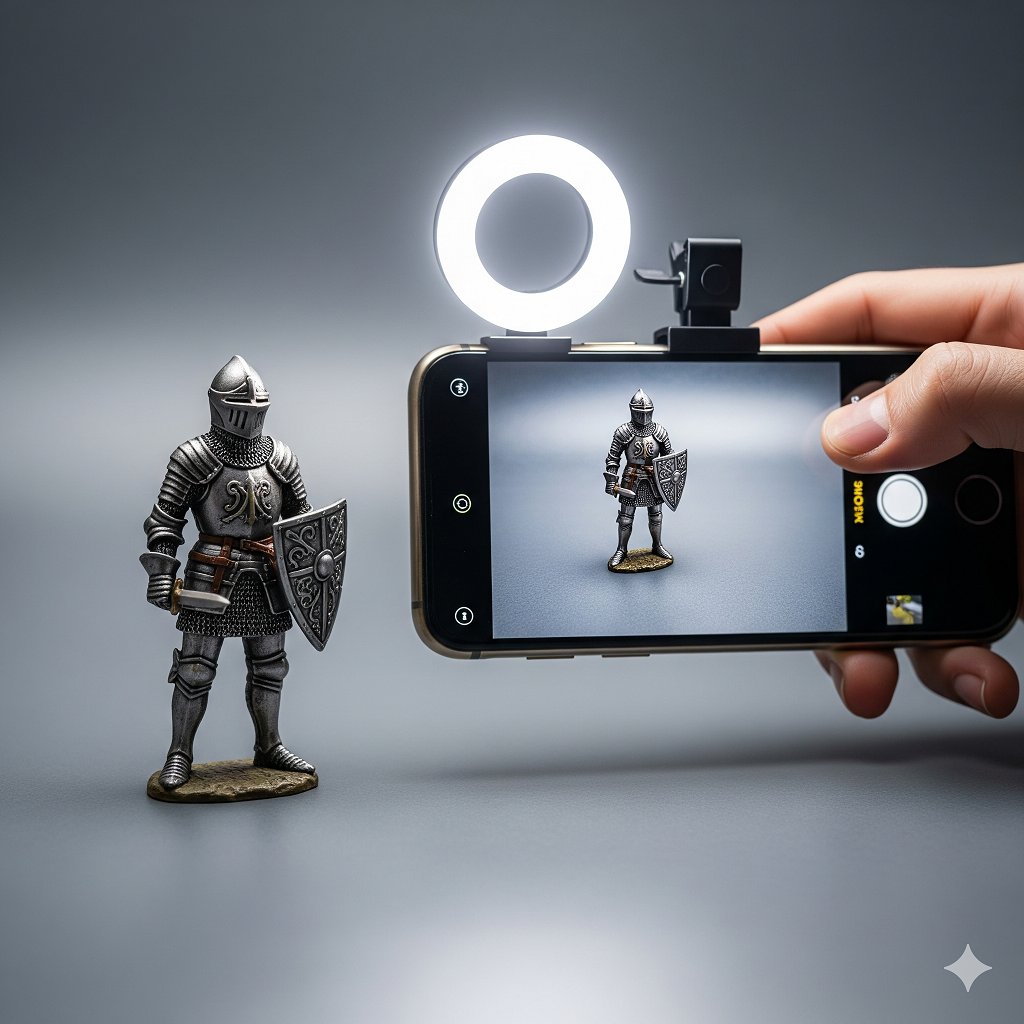
11. Photos help you grow
- Photograph every miniature you finish.
- Track your improvement – massive motivation!
- Share on Instagram or in the community – get feedback and praise.
Tip: Use a neutral background and good lighting – even a phone can take great photos.
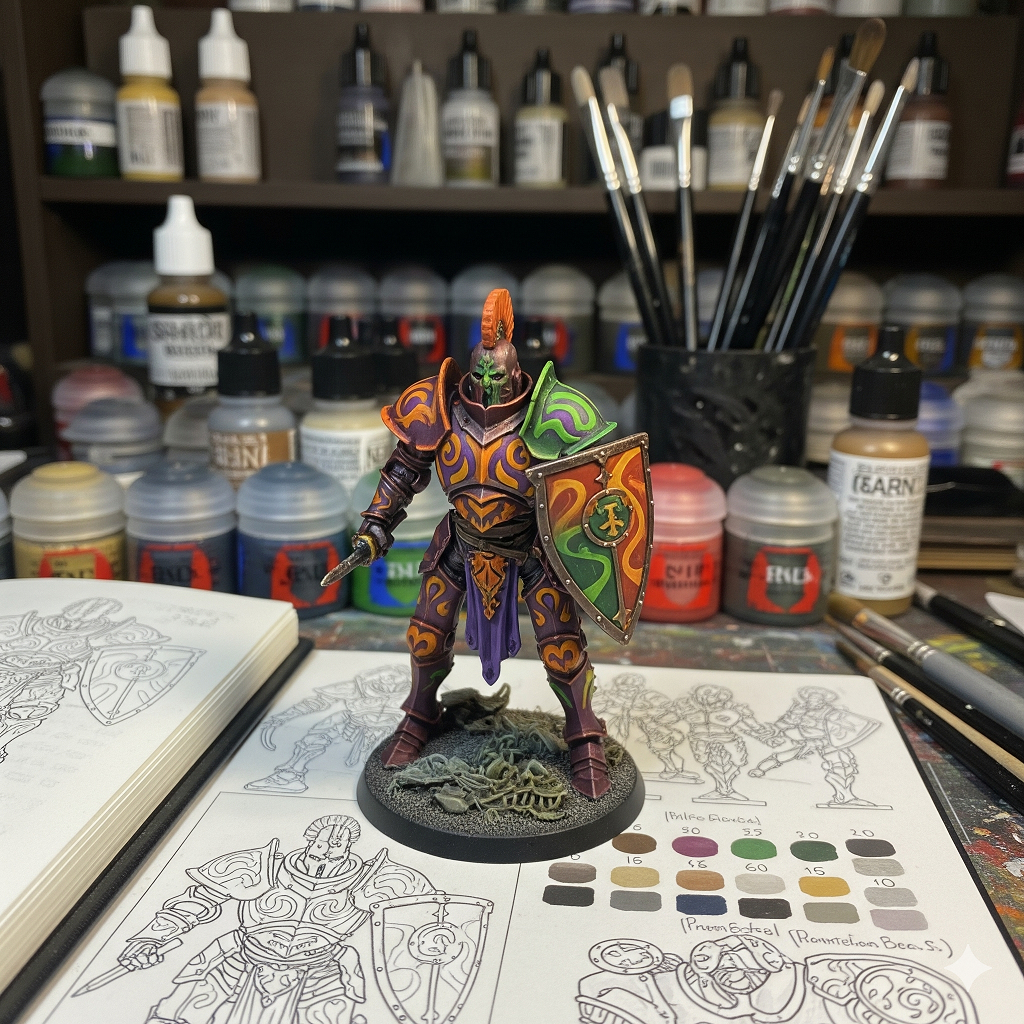
12. Painting is not an obligation – it’s your zone
You don’t have to follow official color schemes. Create your own colors, story, and style. Your army = your rules.
Tip: If painting 20 identical soldiers bores you, make each one slightly different. Creativity keeps you engaged.
🎨 Paint with a Pro – learn from the best!
We have a miniature painting specialist on our team who has been fully dedicated to this hobby for years. Thanks to him, you’ll get not only advice but real hands-on experience from someone who paints armies professionally.
We organize workshops for beginners and advanced painters, where our painter guides you through all the tricks and techniques. Every participant takes home a finished miniature and new skills that take their hobby to the next level.
👉 If you’re not confident yet, you can also use our commission painting service.